Vintage Lending Library Commemorates the Titanic tragedy with The 1912 Project
April 14-15, 2012, is the 100th anniversary of the Titanic tragedy. During the night, the RMS Titanic sunk in the north Atlantic after four days at sea on its maiden voyage from Southampton to New York City. The Titanic had 2,223 people on board when it ran into an iceberg at 23:40 (ship’s time) on April 14,1912. Two hours and forty minutes later at 02:20 on April 15, The Titanic sank with over 1,500 people losing their lives.
To commemorate this tragedy, The Vintage Lending Library has launched a very ambitious archive project with the scanning and digitizing of 1912 patterns and magazines of La Mode Illustree – one of France’s most famous fashion publications of the era.
I am one of over 400 Test Sewists from around the world, who have volunteered to sew patterns that probably haven’t been constructed in 80 years. With downloadable pattern sheets, translations into English of the very limited construction information, and a graphic of the garment, we are expected to document on a blog notes and pictures of what we did and the results.
I invite you to periodically check on the progress of this adventure as I pursue my passion for recreating historic fashions. Please feel free to learn from my notes. They are, however my property and may not be reproduced without my written permission.
Cheryl Pollock, March, 2012
PRINCESS SLIP MARCH 24, 1912 Today I cut out the Princess TitanSlip Pattern. I used 54″ wide
 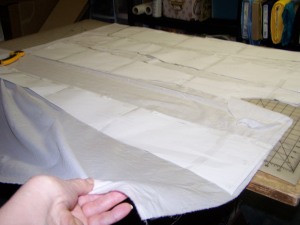 Bearrissima Swiss Batiste. Since the fabric was so wide, (only 53″ after pre-shrinking) I folded on the crosswise grain and cut all the pieces double thickness between the selvages, except for the front. Cut that single layer and then folded on CF to cut other side of front. Fabric excess along one selvage was used for flounce (extra was needed). 2 2/3 yards was used with almost enough left over for the flounce.

I used French Valencennes Cotton Lace for the insertion and edging lace. I found a gorgeous piece of 1 2/3″ wide eyelet beading for ribbon insertion around the neckline.
I sewed the insertion lace using a machine entredeux stitch and a wing needle that created the look of entredeux along the edges of the lace.
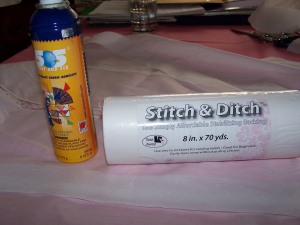
To prevent the lightweight batiste from getting stuck in the stitch place as the wing needle did its design, I attached Stitch in the Ditch water soluble stabilizer onto the back of the fabric under the lace. using 505 temporary fabric spray.
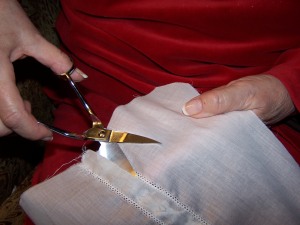
When I trimmed the fabric from behind the lace, I trimmed as close to the stitching as possible, rather than rolling and hand sewing. When you use a zig-zag or other decorative stitch, it finishes the edges and prevents raveling.
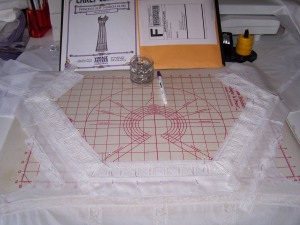
After sewing the shoulder seams and center back seam with French seams, and prior to sewing the side seams, I shaped the eyelet beading around the neckline by pinning it to a padded lace shaping board and mitering the corners. To stiffen the eyelet, I spray starched and steam pressed dry, covering the lace with press cloth to prevent scorching, since I don’t have a teflon plate for my iron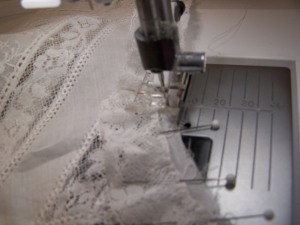
Prior to sewing the side seams, I attached the gathered lace to the edge of the armhole and the edge of the neckline with a short, narrow zig-zag stitch.
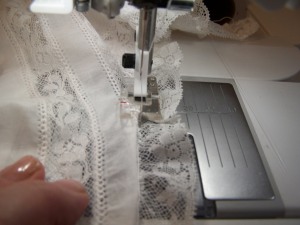
Then I turned to the outside and top stitched with another short narrow zig-zag stitch.
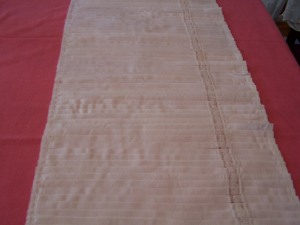
To make the flounce, I cut out 17″ wide fabric and began to mark for the pleats. Every 1 5/8″ I pulled a thread across the 17″ width of fabric.
After hemming the bottom of the piece and inserting a row of lace 3 1/2″ from the hem, I began to pleat the flounce. On the pulled thread mark, I pressed a fold for the inside of the pleat. To hold this inside folded edge straight, I sewed a row of stitches. Then I pressed the outside edge of each pleat on the ironing board. Hand basting the top edge held the pleats in place. While time intensive, this process produced a fairly regular pleated flounce.
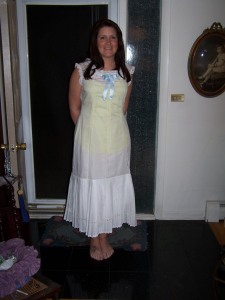
While I was investing all this time and effort into creating the Princess Slip, my husband, Jim, kept asking who was going to wear it. I tried it on Sandy, one of my models, but it was too small through the bust and way too big around the hips. When my grandson’s girlfriend, Alyssa, was inspecting the slip, I asked if she might want to model it for me. When she tried it on, to our surprise it fit beautifully, except that I needed to make the back closure as loose as possible.

I still need to sew the flounce to the slip,add the lace insertion to this seam line and finish the back closure, but I need to have Alyssa present to assure a proper fit.
I CONSIDER THIS PROJECT COMPLETE AND AWAIT MY NEXT ONE!


